*%*%*%*% Page One %*%*%*%*
I call this unit the Dave Cooker for the guy I'm making it for.
This unit is going to be a "Basic" unit. Not a lot of chrome or fancy stuff, just a solid working unit.
After cutting the tank in half it must be cleaned inside and out and stripped of all the old paint or it will smoke and burn when I weld on it.

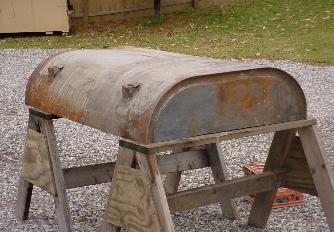
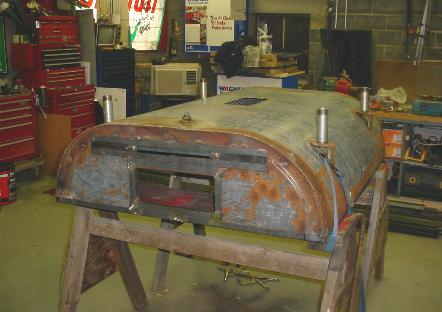
Next, the halfs have to be "lipped" with angle to cover the sharp edges and provide a flat surface for the two halfs to meet and seal. Here the top is done and the holes for the stacks have been cut.
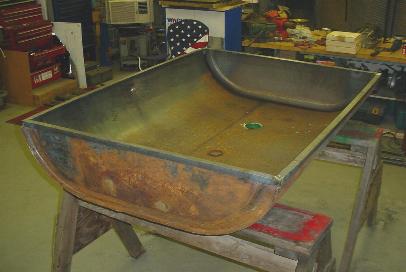
Now the bottom has to be done. There's a LOT more work to do the bottom then the top.
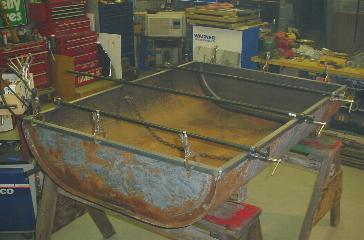
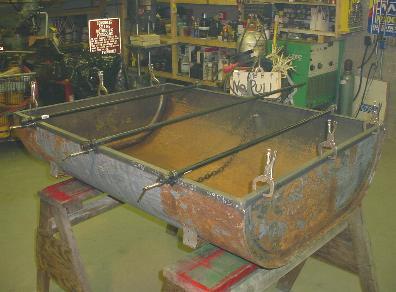
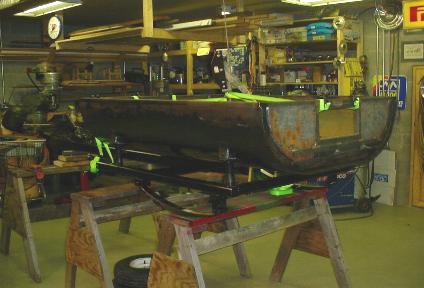
Here the bottom is ready for welding. It has to be clamped and secured because when the tank is cut in half, it naturaly wants to bow out to it's normal flat shape. The bow on the sides is about 4" most of the time.
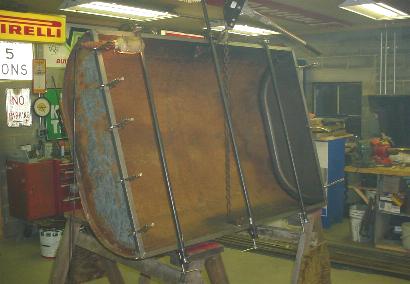
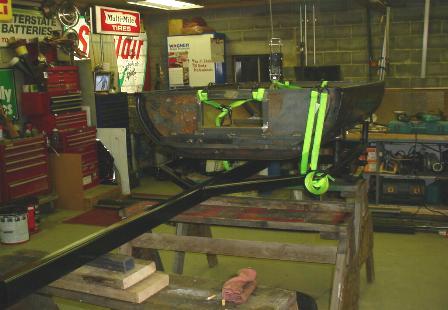
In order to get to and weld the lip on the tank has to be stood up on it's side. Here the tank is up and ready to weld. This has to be done on both sides, and on both halfs.
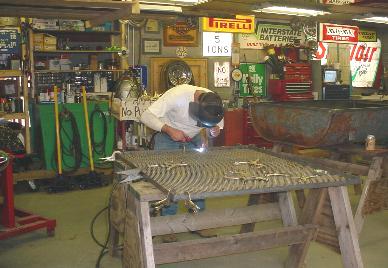
Next, the cooking grid is made. To get it right takes a whole day of work even if things go smooth and thats rare.
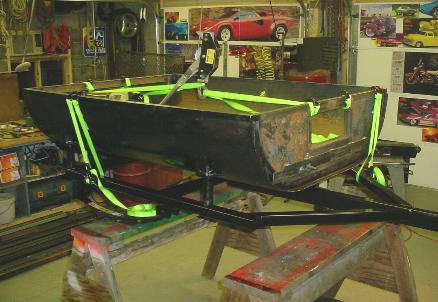
Because this is going to be a charcoal fired cooker, chutes have to be installed on both ends so the fire can be fed during the cooking process. Here one chute hole has been cut and framed out.
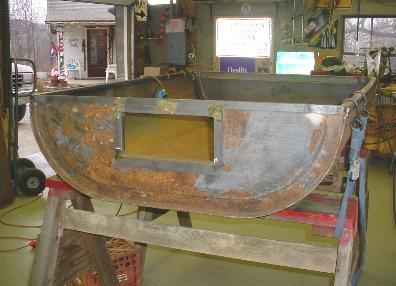
The next step is to install the air intake vents. They have to be controlled openings with little slider doors so you can regulate the air getting into the fire. I've also intsalled the cleanout trap door in the bottom of the tank. Then I flipped the unit upside down and installed the legs.
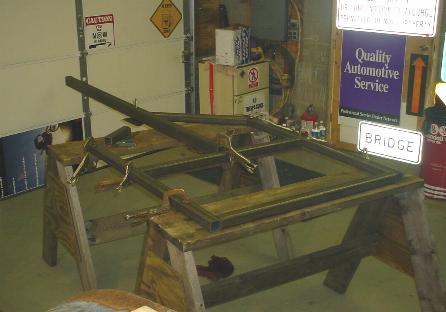
On another bench, I've started the framework for the trailer the cooker will sit on.
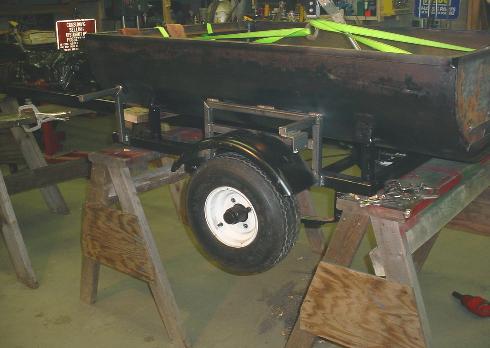
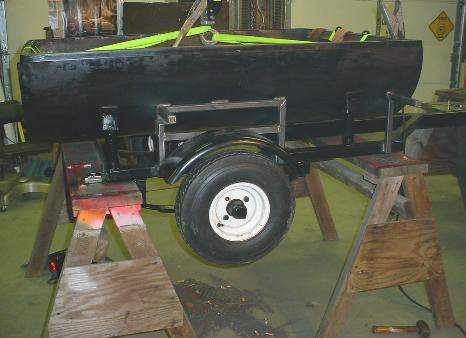
The trailer is almost done. Just need to attach the axle and put the fenders on. Here the cooker bottom is strapped to the trailer to get the fitment correct and line it up for welding. I painted the trailer already as well as the underside of the cooker bottom.
The axle and fenders are in place. I've also added some brackets to hold the side shelves as well as tabs to mount the tail lights. These brackets also help to support the weight of the tank itself.